My Cozy Gaming Lighting Guide: The 3 Layers That Make a Setup Feel Magical
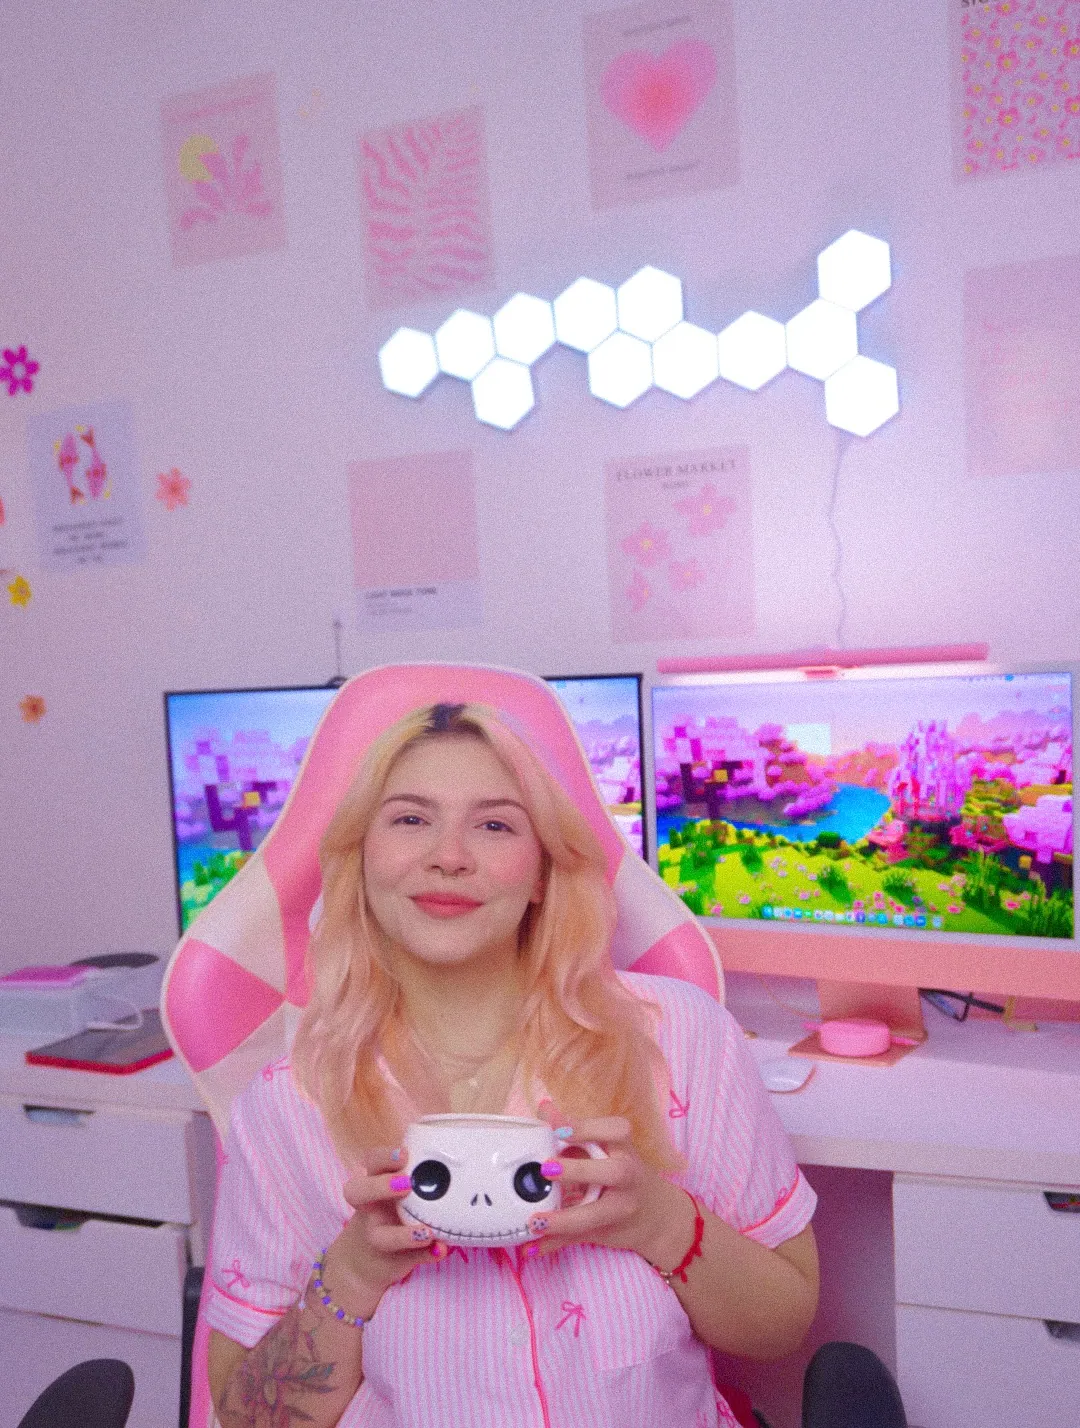
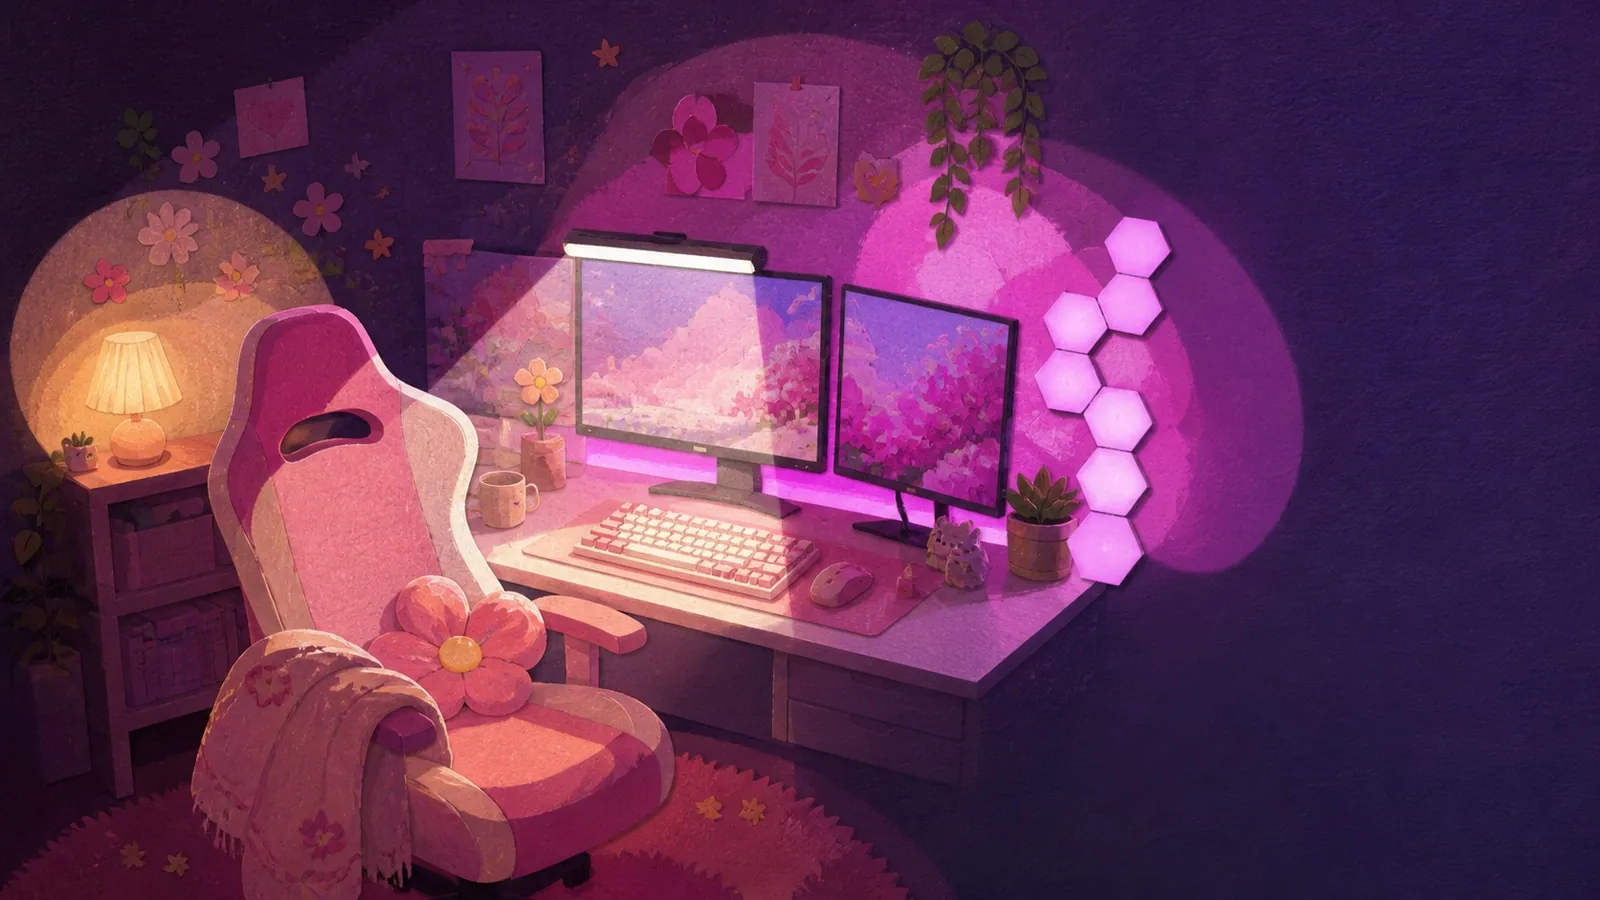
My whole lighting setup is three lights: one warm one filling the room, one white one on my hands and one coloured one doing nothing useful at all. All three sit at roughly a third brightness and the ceiling light stays off.
That's the formula, and it took me far longer to arrive at than it should have, because my first instinct was to keep adding lights. More lights made the room brighter. They did not make it cozier... and it took me a while to work out why those were two different things.
Here's the version I run now, the number to look for on a bulb box and the one place in the room where pink light is the wrong choice.
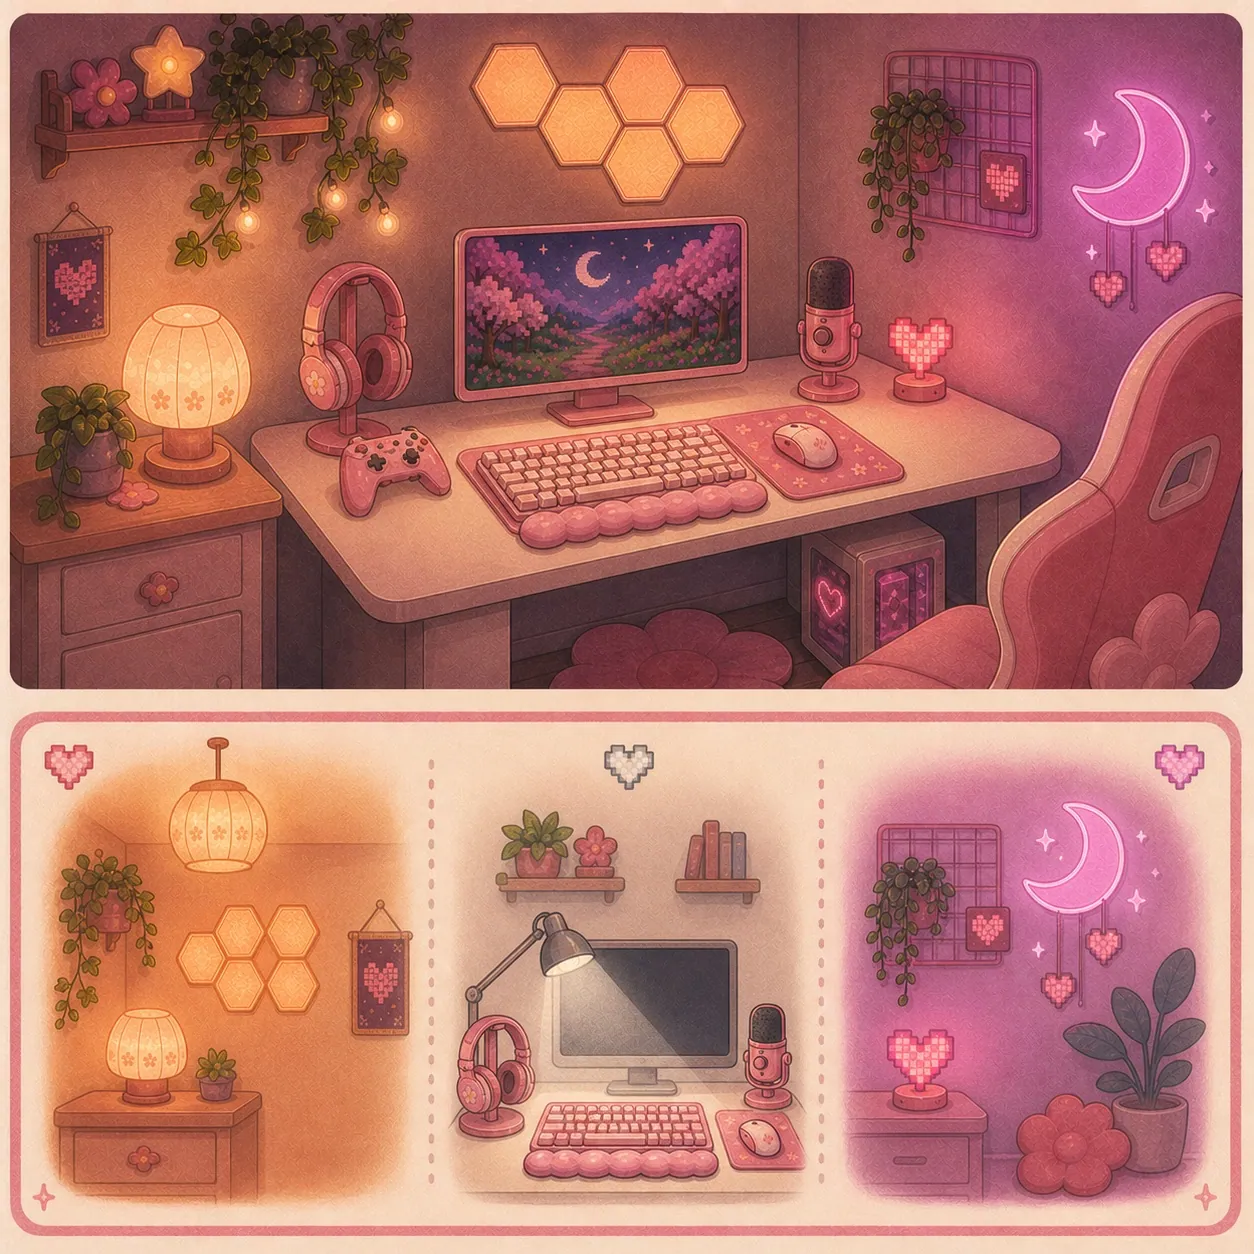
My cozy lighting formula, in one line
One soft ambient light, plus one colour source, plus two or three small accent lights, all at low brightness, with the overhead off.
That's it. Four or five light sources in total, none of them bright and not one of them pointed at my face.
The thing I'd most want to pass on is that the count matters less than the brightness. A room with five lights at 30 percent looks like a room somebody lives in. The same five at 100 percent looks like a display stand, and I know that because mine looked like a display stand for a whole summer.
| Layer | What it does | How many | Brightness |
|---|---|---|---|
| Ambient | Fills the room so the screen isn't the only light source | 1 | Low, warm |
| Task | Lights your hands, your keyboard and your desk | 1 | Medium, white |
| Accent | Adds colour and detail, does no useful work | 2 to 3 | Low, whatever colour you like |
Layer 1. One warm ambient light, and the number on the box
Ambient lighting is the base layer of light that fills a room without pointing at anything in particular. It's the layer that decides whether the room feels warm before you've noticed any individual light in it.
One source is enough. A lamp behind the desk, a lamp in the corner, a lamp on a shelf. What it can't be is the ceiling light, because overhead light comes from above every object in the room and flattens all of them at once.
The number you want is 2700K to 3000K.Westinghouse files that band as warm white and puts daylight at 4500K and up, and that gap is the entire difference between your bedroom and a dentist's waiting room.
Here's the annoying part. Warm white and soft white aren't standardised terms. One manufacturer calls 2000K to 3000K warm white, another labels 2700K as soft white and doesn't use warm white at all. So skip the words on the front of the box and find the Kelvin figure, which US law requires on the Lighting Facts label.
Two ways to do this layer:
If you already own a lamp, change the bulb. This is the cheapest change in the entire article and it's reversible in four seconds. A Govee Smart Light Bulb in the A19 E26 shape puts 800 lumens and a dimmer into a fitting you already have, with colour if you want it later. Most rooms have one lamp in them already doing nothing.
If you don't own a lamp, a cordless pink lamp with three colour temperatures runs 6 to 10 hours off an 1800 mAh battery and charges over USB, which makes it the only light in this guide with no cable to hide. If you'd rather one object did both layer one and layer two, the Govee RGBIC Smart Table Lamp 2 is a warm lamp and a colour source in the same shade.
Layer 2. One colour source, run at about a third
One coloured light. Not five. This is the layer everybody over-buys, me very much included. It's also where restraint shows most.
Colour reads as intentional when there's one source of it and as chaotic when there are four fighting each other. Pick where the colour lives, then stop.
Three places it works, in the order I'd try them:
Along an edge, pointing away from you. A pink neon-style LED rope light under the front lip of the desk or along the back of a shelf gives you a glow with no visible source, which is the effect people are actually chasing when they buy strips. The silicone neon style holds a line better than a bare strip does, and it hides the individual diodes.
Standing on the desk, aimed at the wall.Govee Smart Light Bars sit either side of a monitor and throw colour backwards. They're the easiest of the three to move, and moving them is the whole point, because you won't get the position right first time.
If you rent and the wall is the problem, mount the panels on a pegboard and hang the pegboard instead. Everything goes up, nothing goes on the paint and you can take the whole arrangement with you.
Whatever you pick, run it low. I keep my panels somewhere around a third and I have never once wished they were brighter! Softer looks cozier both in the room and on camera, and at full brightness a small room starts looking like a nail salon.
Layer 3. Accent lights, which are the ones that make it feel like yours
Accent lights are the small ones that do no useful work at all. They light an object rather than a room, and they're the layer that stops a setup looking like it came out of a box.
This is the fun layer and the cheap one. Nothing here needs to be bright, because none of it is lighting anything you're using.
A sunset lamp projector throws a warm orange circle onto a wall and it's the single most photographed thing in this category for a reason. A dimmable flower candle warmer lamp gives you the candle glow and the melted-wax smell with no flame, which matters if you rent or if you're the sort of person who falls asleep at the desk. An RGB headphone stand is an accent light that also holds your headphones, and there are nine of them compared in the pink headphone stand guide, including the thing to know about plugging a wireless dongle into one.
One accent trick that costs nothing: put something reflective where a coloured light can hit it. A small mirror, a glass, a chrome figure. One reflection does more than a second light would, and there are thirty-three more free ideas like that in 34 pink gaming setup ideas.
And one thing about finishes, because it only shows up under coloured light: a glossy surface throws a hard hot spot back at you and a matte one glows. It's why a matte silicone controller cover looks softer under pink light than a glossy vinyl wrap does, which is one of several reasons the four types of controller skin are not interchangeable.
The light behind your screen wants a different colour than the rest of the room
This is the one place in the room where I'd tell you not to put pink light, and it's the part of this guide I most changed my mind about.
Bias lighting is a light placed behind a screen, aimed at the wall behind it, so the screen isn't the brightest thing in your field of view. Every cozy setup guide tells you to put an LED strip back there. Almost none of them mention that the colour of that particular light changes how you see everything on the screen.
The people who do this professionally have a number for it. MediaLight, summarising the SMPTE recommended practice for bias lighting, gives two rules. The light behind the screen should be 6500K, the D65 white point. And it should sit at no more than 10 percent of the display's peak brightness, with around 5 percent being the level they suggest in practice.
Why it matters in a pink room: your eyes judge colour relative to whatever is around it. Put a strong pink light immediately behind your monitor and everything on the screen shifts away from pink to compensate. Skin tones go slightly green. Screenshots you take look wrong later on a different screen and you can't work out why.
So the fix isn't fewer lights. It's a different place for the colour.
| Where | What goes there |
|---|---|
| Directly behind the monitor | Neutral white, 6500K, dim |
| The wall beside or above the desk | Colour, as much as you like |
| Under the desk edge | Colour |
| Behind you | Colour |
If you want to do the behind-the-screen part properly, Luminoodle's True White bias lighting strip is a USB strip made for exactly this job rather than a colour strip set to white. A colour strip set to white is a reasonable second best, and most people won't see the difference :)
The honest bit: I don't run mine at 6500K every evening. I'm playing Stardew Valley rather than grading a film, and some nights the whole wall is pink because that's what I felt like. What changed is that I now know which of those two things I'm choosing. On the nights I'm photographing the desk, the light behind the screen goes back to white.
The two lights I actually run, and what I'd change
I run two sources, plus accents. That's fewer than people expect from a lighting guide, and it's deliberate.
A monitor light bar for the task layer. A monitor light bar is a slim LED bar that clips to the top of a monitor and lights the desk in front of it without shining onto the screen. Mine is the Quntis Pink Monitor Light Bar: 16.1 inches, 3000K to 6500K, 84 LED beads and Ra95 for colour rendering.
That Ra95 figure matters more than it sounds like it should. Colour rendering measures how truthfully a light shows colour on a scale where 100 is perfect, and it's the reason my pinks photograph as the shades I actually bought rather than as a slightly orange impression of them. Ra90 or above is what I'd look for on anything lighting a desk full of pink things.
Two things I wish I'd known: the bar is pink, the light it makes is white. And if you have a 27 inch or a curved screen, the 16 inch one is the wrong size, which is what the 20 inch version is for. The fit is what catches people out, so which pink light bar suits a small desk walks through what to measure first.
Hexagon panels for the colour layer. They sit above the desk and they're the only coloured light in the room. I run them low, almost always.
What I'd change: I'd trade a couple of my light sources for fake decorative vines. Softer, no cable to hide and more going on at eye level than a panel gives you. The panels are good. A year of living with them moved my taste.
What I regret buying is a galaxy projector. It's beautiful for about four minutes and I never turn it on. If you're weighing one up, that's my honest data point and I'd rather you had it than not.
Every light in the room, plus the other nine things on the desk, is in my full setup tour.
What I'd buy first, in three versions
Three ways in, depending on what you already own. All three end up at the same formula.
| If you | Start with | Then add | Then |
|---|---|---|---|
| Own a lamp already | A warm bulb, and turn the ceiling light off | One colour source on the wall | One accent light |
| Own no lamp | A small warm lamp | A monitor light bar for the desk | One colour source |
| Only want one thing | A monitor light bar | Nothing. Live with it a month | Whichever gap you actually notice |
The third row is the one I'd pick for most people. A monitor light bar changes the layer you look at most, it takes up no desk space and it doesn't stick to anything. Then wait a month and find out what the room is actually missing, because it probably isn't what you'd guess today.
One practical note whichever row you're on: every light on this list has a cable, and four lights is four more cables on a desk that probably wasn't winning that fight already. How to hide cables on a small desk without drilling is the companion piece, and doing the cables before the lights saves you doing both twice.
Where I'd start if I were starting again
Ceiling light off, one warm bulb on, everything else at a third.
If I'd started there I'd have bought fewer lights and liked the room sooner. The overhead is the enemy of every other light in the space and switching it off costs nothing, which makes it the highest-return change in this entire guide.
Then one warm ambient source. Then a light bar for the desk. Then, and only then, colour.
The mistake I made was buying colour first, because colour is the exciting part and warm white is not. A room lit only by coloured light at full brightness photographs beautifully and is a strange place to sit for three hours!
If you'd rather do this as a weekend project with the cables and the desk surface sorted at the same time, six tips to make any setup cozier in one weekend is the whole-room version with the order to do it in. The 12 things that actually matter covers what the Kelvin, CRI and lumens numbers mean if you want to go deeper on the box labels. Every light I own lives on my faves, and if you're buying any of this for somebody else, the cozy gaming gift guide has a whole section on things that light up. There's more about me and this corner on my about page.
One last thing, because it comes up: the only screen I'm happy to use with every light off is a handheld, because it's small and I control its brightness directly. The seven types of handheld retro console covers what you're choosing between there.
Cozy gaming lighting FAQ, the questions I get asked most
How do I make my gaming setup lighting feel cozy?
Three layers at low brightness with the ceiling light off. One warm ambient light at 2700K to 3000K filling the room, one white task light on your hands and desk and two or three small accent lights that do no useful work. Run all of it around a third.
What colour temperature is best for a cozy gaming room?
2700K to 3000K. Westinghouse files that as warm white and puts daylight at 4500K and up. The Kelvin number is required on the packaging, so look for the figure rather than the words on the front of the box.
Should the LED strip behind my monitor be pink?
Not if you care what colours look like on the screen. The bias lighting standard summarised by MediaLight asks for 6500K neutral white at no more than 10 percent of your display's peak brightness. A strong pink light directly behind a monitor shifts how you perceive everything on it. Put the pink on the side walls instead.
How many lights does a cozy gaming setup need?
Four or five sources, none of them bright. One ambient, one task, two or three accents. The count matters far less than the brightness, and five lights at a third looks lived in where five at full looks like a shop display.
What is bias lighting?
Bias lighting is a light placed behind a screen and aimed at the wall behind it, so the screen isn't the brightest thing in your field of view. The published guidance is neutral white at 6500K, kept to around 5 to 10 percent of the screen's peak brightness.
Why does my pink gear look the wrong colour in photos?
Usually the colour rendering of your light. Ra measures how truthfully a light shows colour out of 100, and cheap lights sit low and skew warm. Look for Ra90 or higher on anything lighting a desk full of pink things, and check whether a listing publishes the figure at all.
Do I need RGB lights for a cozy setup?
No. A room lit entirely in warm white with no colour at all reads as cozy, and it's the version that still looks good in daylight. Colour is the layer you add when the warm one is already right.
Can I do cozy lighting in a rented room?
Yes, and the only part worth thinking about is the adhesive. Bulbs, lamps, light bars and standing light bars leave nothing behind. Wall panels and strips are the ones with a moving-out day attached, so mount those on a pegboard if you'd rather not test your landlord's paint.
Is warm white or cool white better for gaming at night?
Warm, at 2700K to 3000K, for how the room feels. The exception is the light directly behind your screen, which wants to be neutral at 6500K so it doesn't shift the colours you're looking at. Those two things sit about three feet apart and want opposite settings, which nobody warns you about.