How to Make Your Desk Look Aesthetic in Photos, the Technical Version!
Search how to make your desk look aesthetic in photos and you get decorating advice. Mood boards, styling tips, twelve things to put on a shelf. Google reads the query as a decorating question, and almost nobody answers the photography one.
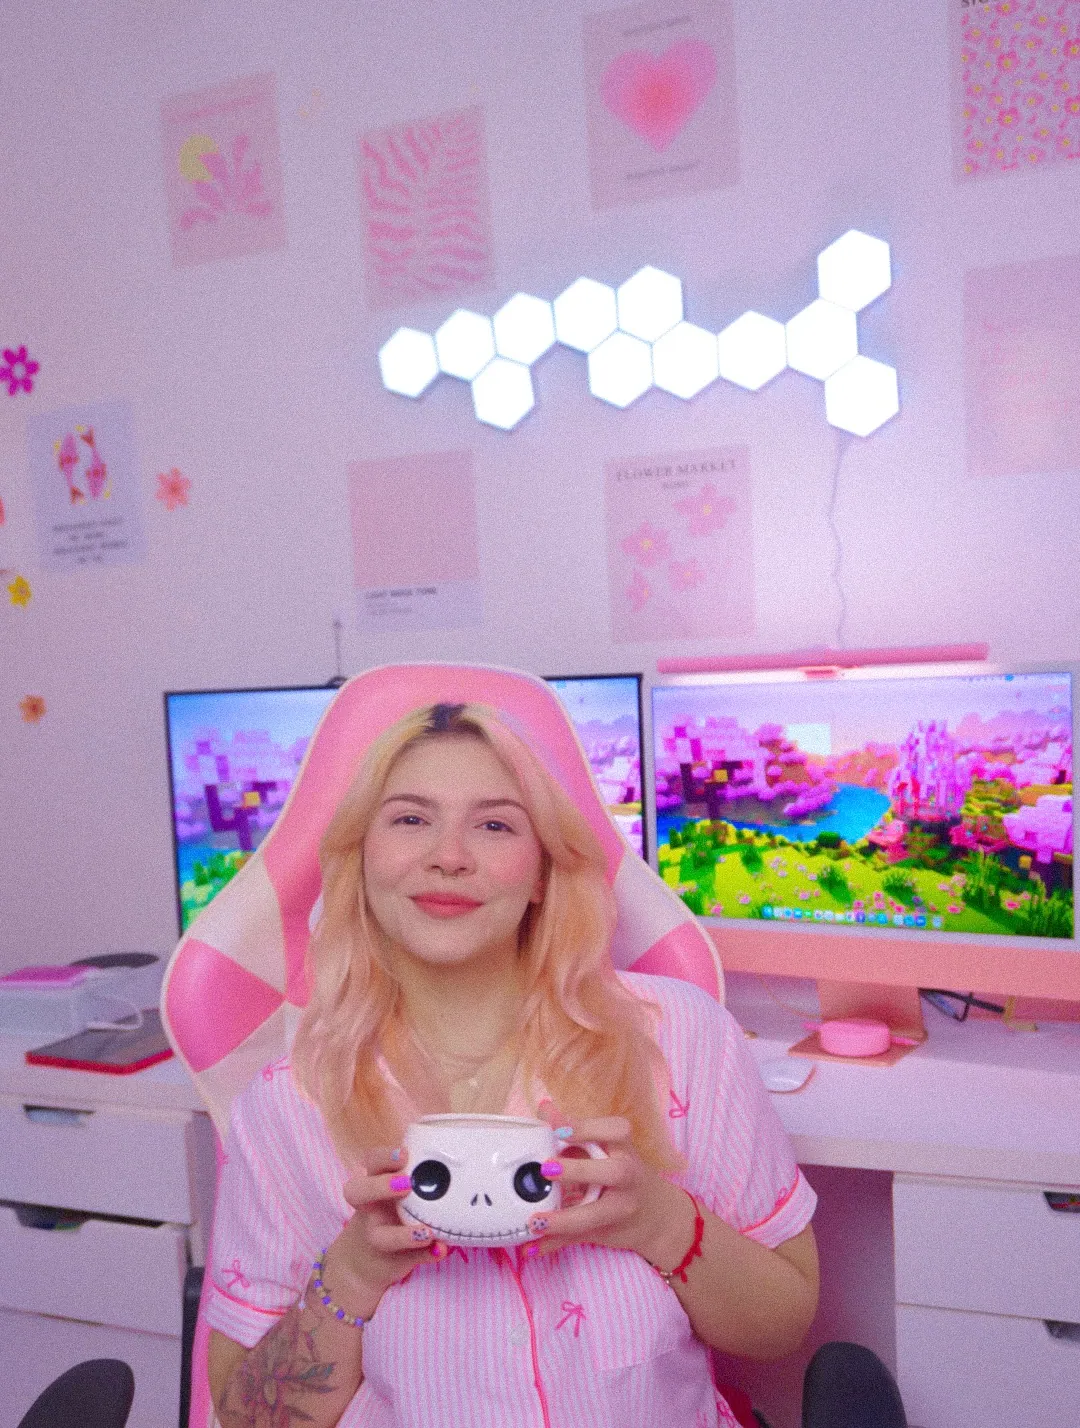
The two pages that do are five tips long between them. Angle the chair, shoot higher, use natural light. Nothing about white balance. Nothing about metering. Nothing at all about the case that actually breaks, which is a pink desk, lit by coloured LEDs, in a dark room.
That's the exact scene automatic white balance handles worst. So this is the technical version with the reasons underneath each step. Every one of them is free.
🎀 A closer look from the corner
Watch this post on Instagram ↗
Why automatic white balance drains your pink
This is the whole problem in one paragraph and it took me two years to find out.
Automatic white balance is a best-guess algorithm working inside a limited range, usually between about 3000 and 7000 kelvin. Inside that window it's very good. Outside it, or in a scene that breaks its assumptions, it's confidently wrong.
And here's the assumption it makes. When a scene is dominated by one colour, the camera mistakes that colour for a cast from a coloured light source and corrects the opposite way. A room full of pink light and pink objects looks to the algorithm like a white room lit by something pink, so it removes the pink.
Your desk is the textbook case. Pink mat, pink light, pink everything. The camera cancels the one thing you built the room around.
Mixed lighting makes it worse. With several sources in frame, automatic white balance averages them into one colour temperature for the whole scene. It then exaggerates the difference between the sources compared with what your eyes do. Three white points in one photo is three chances to be wrong.
For reference, these are the temperatures you're mixing:
| Source | Kelvin |
|---|---|
| Candle | 1000 to 2000 |
| Tungsten bulb | 2500 to 3500 |
| Sunrise and sunset | 3000 to 4000 |
| Fluorescent | 4000 to 5000 |
| Clear daylight | 5000 to 6500 |
| Overcast | 6500 to 8000 |
| Shade | 9000 to 10000 |
A 2700 kelvin lamp, a 6500 kelvin monitor bar and a magenta strip in one frame isn't a scene any averaging algorithm can resolve. The fix is to reduce the number of white points.
What you can actually lock on a phone
Here's the thing nobody tells you, and I wish somebody had. There's no white balance lock in the iPhone's stills camera.
The setting people point at, Settings, then Camera, then Record Video, then Lock White Balance, is real and it's video only. It arrived in iOS 17 and it does nothing for a photo.
What you can lock in stills is exposure and focus, together. Press and hold on the part of the frame you want sharp until AE/AF Lock appears at the top. Focus and exposure are then pinned and you can recompose. That single gesture is the most useful thing on the screen and most people never use it.
For white balance on a pink desk there are two real answers. Shoot raw, meaning ProRAW or DNG if your phone offers it, so white balance becomes a slider afterwards rather than a decision at the time. Or use a manual camera app with a kelvin control.
On Android the answer is easier. Samsung's camera has Pro mode, with white balance set by hand as a colour temperature or a preset. Raw sits under Advanced picture options and Expert RAW is the separate app. Samsung doesn't publish the kelvin range of that slider, so set it by eye against something you know is white.
Turn the ceiling light off, and shoot at night
This is free, it takes one second and it's the largest single improvement available.
The first reason is lighting ratio. Lighting ratio is the key light divided by the fill light, and it doubles per stop: no difference is 1:1, two stops is 4:1, three stops is 8:1. Higher ratios give contrast and shape. Lower ratios give flat, evenly lit and boring.
A ceiling light floods the room with fill and drags the ratio toward 1:1. Your monitor light bar, your strip and your panels stop reading as light sources and start reading as coloured plastic, because nothing around them is dark enough for them to be brighter than.
The second reason is the colour temperature problem from the section above. The ceiling bulb is a third white point the camera has to average.
The third reason is geometry. An overhead fixture is the worst possible axis for a desk shot. It puts a specular reflection of itself straight back into the lens off every glossy surface you own, and it removes shadow direction so objects lose their shape.
Which leads to the bigger version of the same point. Shoot at night.
Daylight through a window is 5000 to 6500 kelvin and far brighter than anything on your desk. With it in the room, daylight is the key light and your RGB becomes invisible fill. The ratio collapses and the setup stops looking lit. At night your lamps are the key light and the ratio is yours to choose.
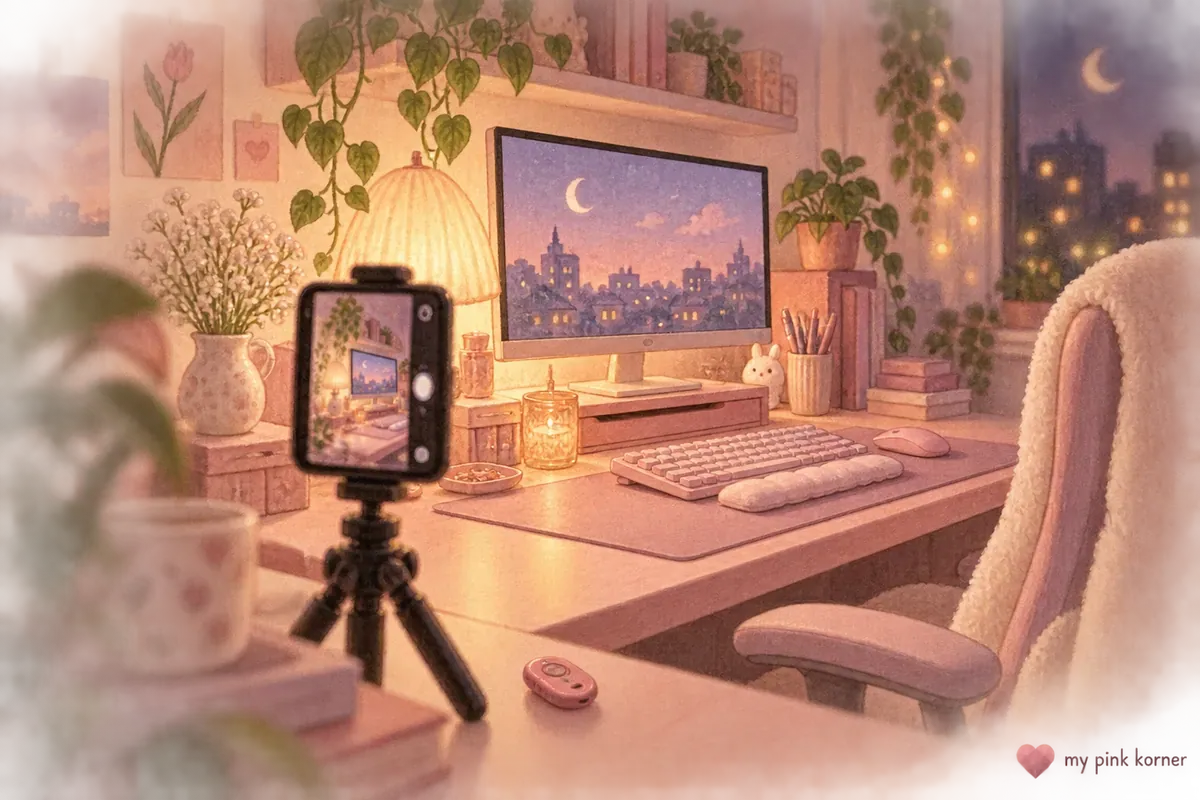
The cost of shooting at night is light, which is where a tripod stops being optional. The SENSYNE pink tripod is the one I use. A UBeesize flexible desk tripod or the version with a remote and clip is the small one that lives on the desk.
And use the remote. Pressing the shutter button adds as much blur as a gust of wind does. A two pack of Bluetooth shutter remotes or a wireless pair cost almost nothing and remove the largest source of softness in a night shot.
Why the monitor blows out and the desk goes black
Your camera can't measure how much light is falling on your desk. It can only measure what bounces back.
And it assumes that whatever it's looking at is middle grey, standardised in print as the ink density reflecting 18 percent of the light hitting it, with camera makers working somewhere between 10 and 18 percent.
A dark desk with a lit monitor is the worst case for that assumption. The meter averages the two, so either the screen clips to white or the desk crushes to black. It's the same failure as a white dove in snow or a black dog on charcoal.
The fix has two parts. First, choose what you're metering. Spot metering reads about 3.8 percent of the frame and partial about 13.5 percent, while evaluative reads the lot. On a phone, tapping is your metering mode.
Second, exposure compensation. Each stop doubles or halves the light. On a phone: tap the part of the desk you want correctly exposed and hold for AE/AF Lock. Then drag the little sun icon down until the monitor stops clipping and recompose without letting go.
Use the main camera, never the ultrawide
The ultrawide is the lens that makes a desk look like an airport runway, and there are two separate reasons to leave it alone.
The first is that it's a worse lens in the dark. On an iPhone 17 Pro the main camera is 24 millimetres at f/1.78 with sensor-shift optical image stabilisation. The ultrawide is 13 millimetres at f/2.2 and its specification lists no stabilisation. Two thirds of a stop slower and unstabilised in a lamp-lit room is the difference between sharp and nearly sharp.
The second is extension distortion. Objects close to the lens appear abnormally large and distant ones abnormally small, which stretches the apparent distance between them. Keyboard enormous, monitor tiny.
And here's the part almost every guide gets wrong. Perspective is caused by distance, not by the lens. Two photographs taken from the same spot have identical perspective geometry whatever lens is on the camera. The ultrawide distorts because it lets you stand closer, not because of anything in the glass.
So the practical rule is: stand back and use 1x or 2x. If the desk doesn't fit, move further away rather than wider.
The three angles, and what each one hides
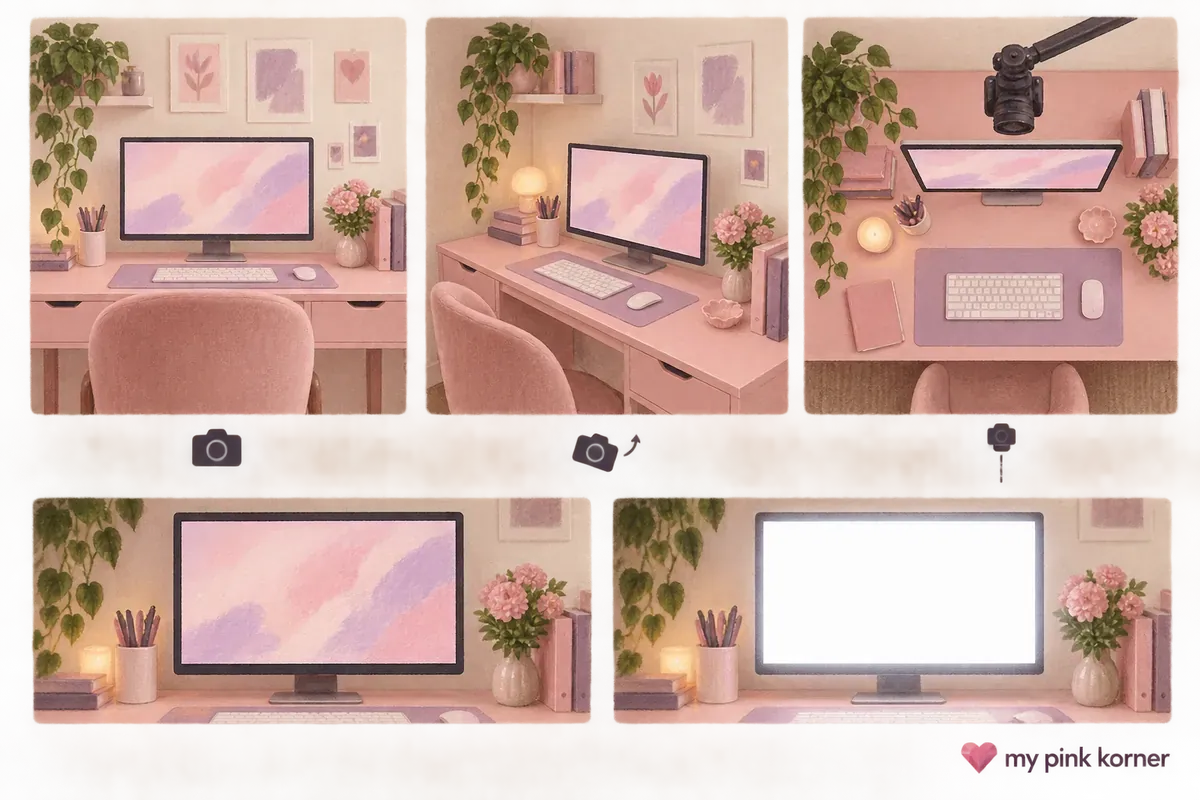
Every desk photo you have ever saved is one of three angles, and each one is hiding something on purpose.
Eye level, at desk height. Reads like you're sitting down, the monitor is legible and the screen content is the subject. It hides the desk surface almost entirely, which makes it the angle for a desk that's a mess.
Three quarter, around 45 degrees and slightly above. Turn the chair so it faces the desk at about 45 degrees and shoot from a little higher. This is the only angle that shows the screen and the surface at once, which is why it's the one most setup photos use.
Top down, at 90 degrees. A flat lay needs a rig, because a tilted phone isn't a top-down shot. A SMALLRIG 22 inch magic arm, a NEEWER arm with a desk clamp or an Elgato Master Mount L pole all get a phone directly above the desk. The food photographers' rule: if you're climbing to get the shot, you're too far away.
On composition, one fact worth having. The rule of thirds was first written down by the engraver John Thomas Smith in 1797, who described dividing a picture at "about two thirds to one third" as "a much better and more harmonizing proportion, than the precise formal half."
And it was being argued with by 1845. George Field wrote that it "doesn't supply a general law." Strict adherence, he said, "would produce a uniform and monotonous practice." He called the rule "neither accurate nor universal." A 229 year old guideline that was disputed within fifty years is a suggestion rather than a rule. Your desk is allowed to be centred.
The blur you can't buy, and what to do instead
Portrait mode doesn't work on a desk, and the reason is structural rather than a bug.
Depth of field is controlled by four things: aperture, distance to the subject, focal length and sensor size. Smaller sensors give deeper depth of field. A phone has a very small sensor and roughly a 24 millimetre equivalent lens, so at desk distance almost everything is already in focus. There's no optical separation available to you.
Portrait mode fabricates the blur from a depth map, and a desk is full of things that break a depth map. Cables. The thin wire arch of a headphone stand. Transparent and reflective surfaces. Objects sitting at nearly the same distance as the background. You get a keyboard with soft edges and a mug with a halo.
What actually separates a subject from a background:
Get closer. Closer is shallower, per the same four controls.
Use the 2x or the telephoto, which is the only way to get a longer focal length out of a phone.
Separate with light instead of focus. Raise the lighting ratio so the subject is two to three stops brighter than what's behind it. This is the professional answer and it costs nothing, because you already have the lights.
A ULANZI VL49 RGB video light or the fixed 5500K version is the small hard light that puts two stops on one object, and a 5 in 1 reflector does the opposite when you need to lift a shadow instead.
The light itself, and the number missing from it
A lamp can advertise a colour rendering index of 90 and still make your pink desk mat look muddy, and the reason is in how the number is calculated.
Colour rendering index measures how faithfully a light source reveals the colours of objects. The standard behind it's CIE 13.3, and the number everyone quotes is properly the Ra value, computed from the first eight Munsell test colour samples.
Those eight samples are all relatively low saturation colours. The saturated red sample, R9, isn't among them. It's measured separately and it's the one that matters for film, video and anything pink.
Pink is a desaturated red. The index that ignores saturated red entirely is the index being printed on the box. So a lamp can post Ra 90 and render your desk orange, and nothing on the packaging warned you.
The documented limitations go further. The index is a poor indicator below 5000 kelvin, and it correlates badly with subjective judgements for sources with spiky emission spectra, which describes white LEDs exactly. Typical white LEDs sit at 80 or above, which sounds fine and tells you very little.
So buy light that publishes a number above 90 and, where you can find it, an R9 figure too.An ALTSON 60 LED portable light at CRI 97 plus publishes one. So does a 2700K COB strip at 90 plus and a 95 plus version. A NorthLux 95 CRI studio bulb is the room-scale version.
Which pink lights publish their numbers is covered in the pink webcam and ring light guide. Why two pinks stop matching is the same problem seen from the other side.
One last free thing. Wipe the lens. A six pack of microfibre cloths fixes more soft photos than any setting here, because a phone lives in a pocket and a smeared lens turns every point of light into haze.
What I'd do first
Turn the ceiling light off and shoot after dark.
It costs nothing, it takes one second and it does more than every other item here combined. Your lamps become the key light, the ratio becomes yours and the camera has one fewer white point to average.
Second, AE/AF lock and drag the sun down. Tap the part of the desk you want right, hold until the lock appears, pull the exposure down until the monitor stops clipping.
Third, the main lens and a step backwards. Not the ultrawide, ever.
Then, if you want to go further: a tripod and a remote, and raw if your phone shoots it.
What I wouldn't do: use portrait mode on objects, shoot a lit setup in the afternoon or trust a lamp that publishes no colour rendering number.
If the desk itself is the project rather than the photo, my own setup is every object on mine and the 12 things that actually matter is the buying order. 34 pink setup ideas has nine that cost nothing and pink setup ideas that don't look cheap is about the finishes that photograph well.
For the light, my cozy lighting guide is the three-layer formula and the pink monitor light bar comparison covers the fixture that sits in front of you. How to hide cables is the one thing that shows up worst in a photo. Everything I own is on my faves and there's more about me on my about page.
Desk photography FAQ, the questions I get asked most
Can I lock white balance on an iPhone?
Not for stills. The Lock White Balance toggle in Settings, Camera, Record Video applies to video only. For photos you can lock exposure and focus with a press and hold, or shoot ProRAW and set white balance afterwards.
How do I lock white balance on Android?
On a Samsung, open the camera and go to Mode, then Pro. Set white balance manually by colour temperature or by preset. Raw capture sits under Advanced picture options, with Expert RAW as the separate app.
Why does my monitor blow out when the room is dark?
Your meter assumes it's looking at a surface reflecting 10 to 18 percent of the light. A bright screen in a dark room averages badly, so either the screen clips or the desk goes black. Tap to meter on the desk, lock, then pull exposure down.
Should I use the ultrawide lens to fit the whole desk in?
No. It's slower and the iPhone 17 Pro's ultrawide specification lists no stabilisation. It also introduces extension distortion, because it lets you stand closer. Step back and use the main lens.
Does portrait mode work for desk photos?
Poorly. It builds the blur from a depth map, and cables, thin wire stands, reflective surfaces and objects close to the background all break it. Separate your subject with light instead by making it two to three stops brighter than the background.
What CRI should a light have for photographing a pink desk?
Above 90, and look for a published R9 figure. The headline number is calculated from eight low saturation samples that exclude saturated red, which is exactly the region pink lives in.